Install Software computer without Disk Drive
Tutorial written by PlasticNev
How to install software to a computer without a disk drive……
How to install a disked program, driver or other software, including the operating system, on to a computer, netbook, or similar that has no disk drive, using a memory stick or flash drive.
In windows XP. (Vista and Windows7 is similar)
To do this we do need a computer that does have a disk drive either CD or CD/DVD drive fitted.
Start up that computer first with the netbook or similar also ready.
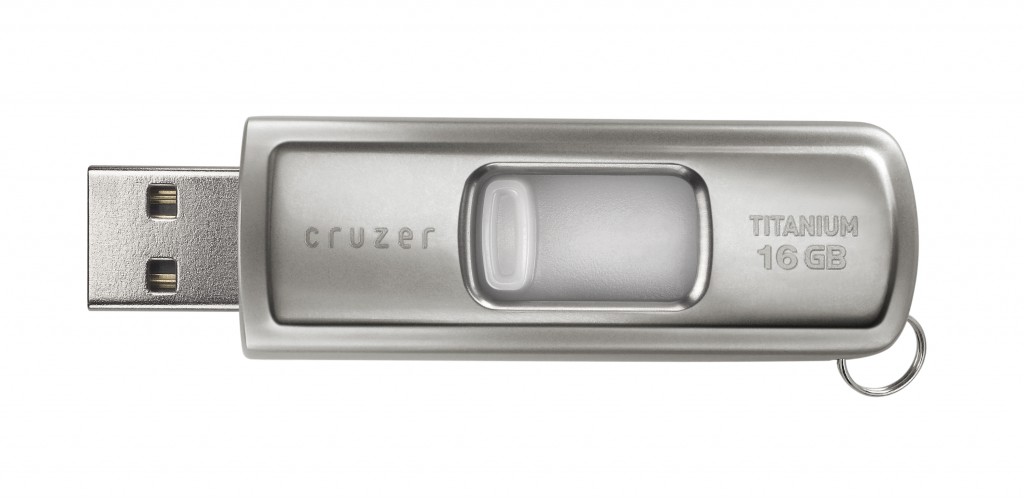
Next is to have a flash drive, pen drive, memory stick or whatever name it has, they are all the same thing for this purpose. Make sure there are no files already on it, store them if needed and delete, or better, reformat the flash drive.
The next thing is to plug the drive (memory stick) into the computer with a disk drive if not already done so, and make sure it is truly empty.
Once that has been done the next thing is to insert the software disk into the disk drive, the computer will recognise there is a disk and start to open the content, with some software a small window may open stating it is initialising installation, don’t worry about that it will go in a few seconds, this will be followed by a window telling you what the software is, and with the usual buttons to click if it were being installed, and will also have a cancel button. It is that button we need to click to close and stop the installation. It can be done at a later time if installation is required on that computer also.
We then need to click on the main “Start” button – bottom left, then click on “My Computer” or “Computer” if Win 7 or Win 8.
The disk drive should be there and also show the disk contents. Right click on the drive, do not double click, that will re start the attempt to install, right click only.
From the menu that opens, choose “Open”, do not choose play or run for the same reason as above.
The window should then show various files or folders all with different names, some software disks will have many folders and some, especially just driver software, may only have one folder.
Go to the “Edit” button top left and choose “Select all” All files and folders should then be highlighted.
In the left pane choose “Copy Selected Items”, a list should open, so scroll down to the flash drive, it should show as “Removable disk (G:)” the (G:) may be any other letter from “D” onwards depending on what other drives are installed.
Click on the Removable disk and then click “Copy”. Another small window should open showing the progress of the copy process, this may take some time depending on the size of the files and folders to be copied.
Once the copy is finished. Click the “Safely remove hardware which should be on the bottom right of your task bar, when it says it is safe to remove, unplug the flash drive from that computer, it is now ready to be plugged into your netbook or other disk driveless computer.
In some cases, the computer may recognise that it is an installation when the drive is plugged in, but that is rare, it usually opens a window with various choices. You need to choose “Open folder to view files”
In amongst those files, you may have noticed earlier there will be one that suggests it is the installer, that is the file to now double click. The installation should now start.
If you need more information on how to Install Software Computer without Disk Drive please ask on the Free PC Help site – click here


